Raspberry Pi Server
If you’ve ever considered running Pi-Hole, Jellyfin, or Nextcloud, why shell out hundreds of dollars for a PC when you can host these services on a $45 Raspberry Pi 4. Once set up the Pi can be a pretty amazing low powered server, especially when paired with DietPi and CasaOS. Here’s what you’ll need to do to install DietPi and CasaOS:
Materials: #
- Raspberry Pi (3B+ or 4 recommended)
- SDCard or USB
- Computer
- Ethernet (preferred but Wi-Fi works too)
Installing DietPi #
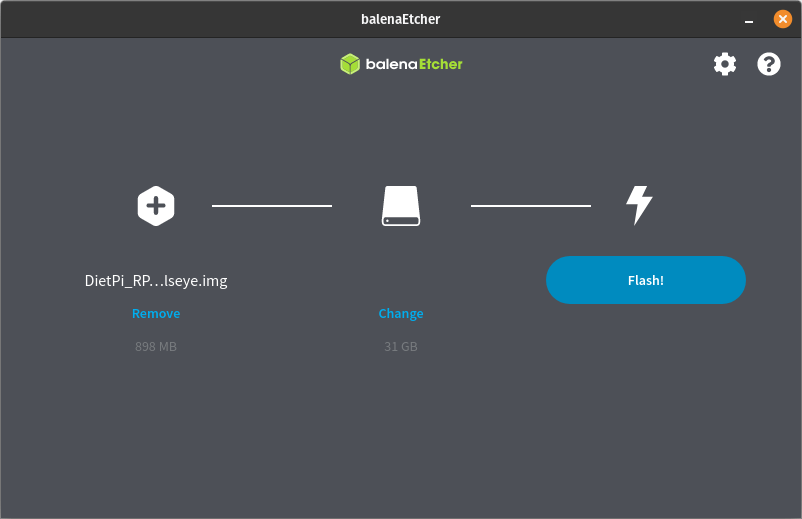
To start, you’ll first need the latest DietPi image for your Pi. The image can be downloaded from the DietPi website, I chose the 64-bit image. Once downloaded you’ll need to extract the image using 7-Zip, tar, etc. Now you need to install Balena Etcher and flash the image to your micro SDCard or USB.
Finding IP Address #
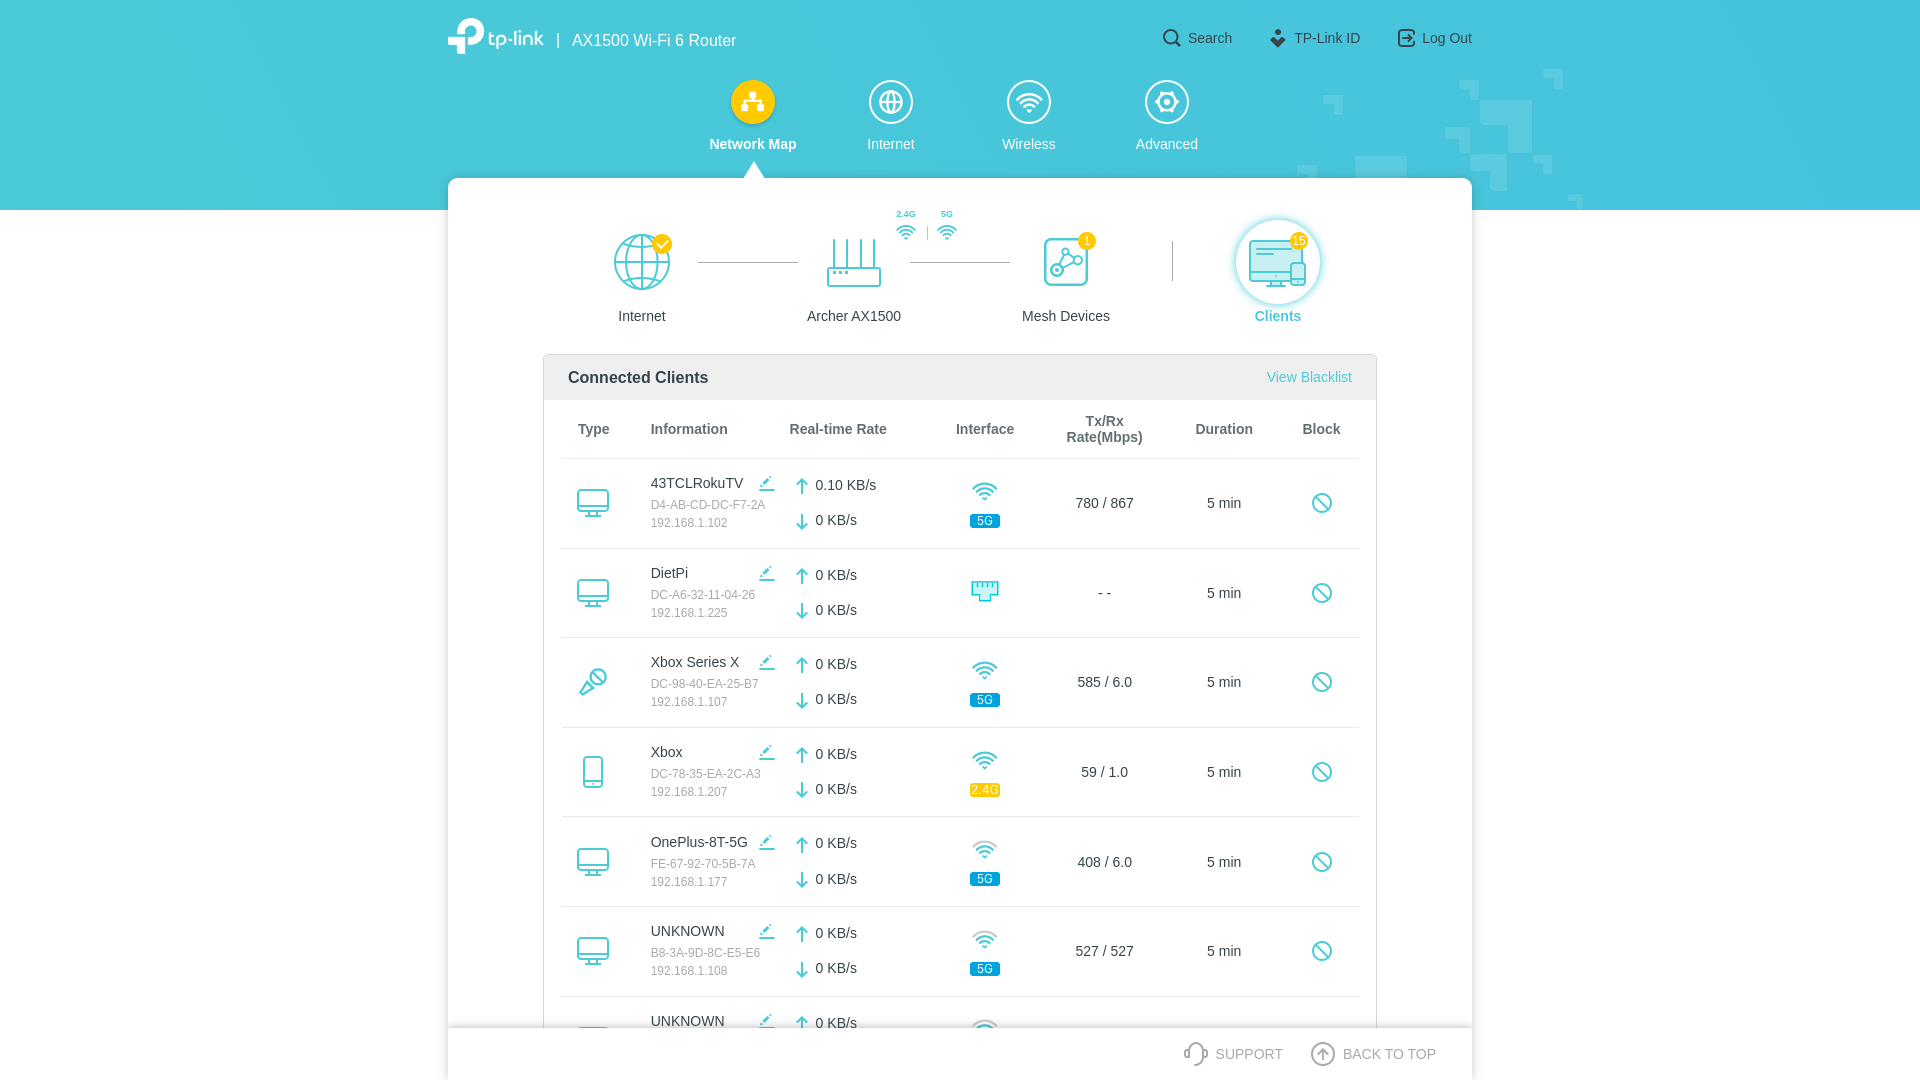
Now that our image is flashed, plug the Raspberry Pi into power and Ethernet to the router. On your computer, navigate to your routers’ management page (usually 192.168.1.1) and find the clients tab or similar. You should see an Ethernet device show up named DietPi, remember its IP address as we’ll use it later for SSH.
SSH #
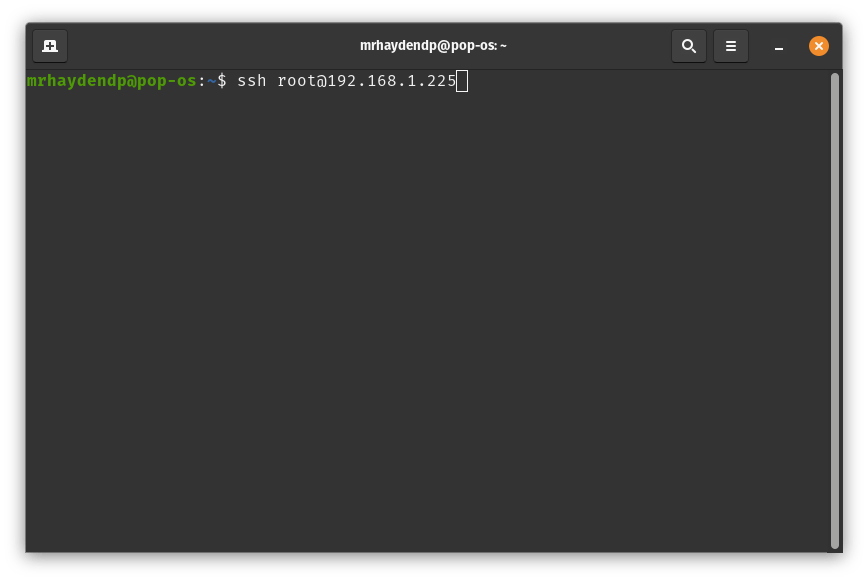
Now that we have the IP of our device, let’s SSH into the Pi. Open Terminal (macOS/Linux) or PowerShell (Windows) and type ssh [email protected] (fill in for your Pi’s IP). If all goes well, it should ask for a password. The default password is dietpi. Finish the DietPi setup, then proceed to the next step.
Static IP #
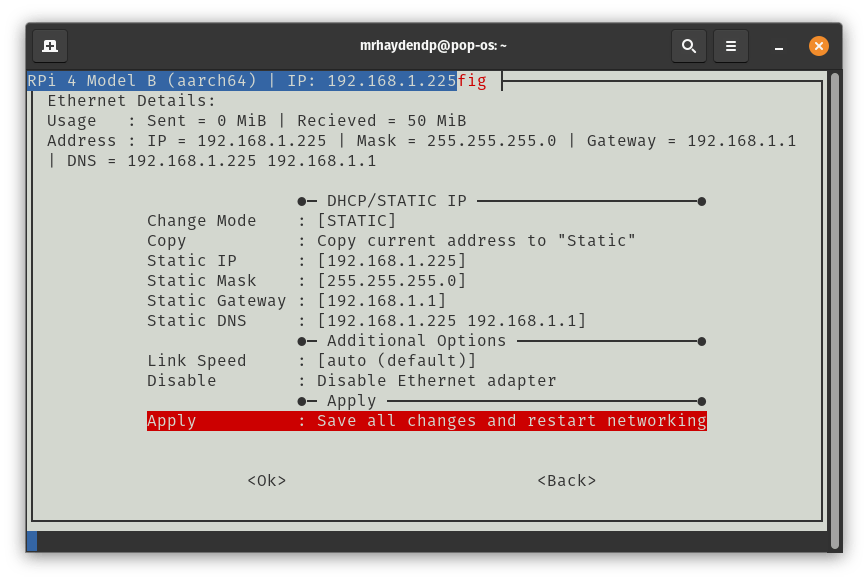
When setup is complete, open Dietpi-Config and navigate to Network Options: Adapters > Ethernet, then change mode from [DHCP] to [STATIC]. Now click Copy to copy current settings to static. When finished, click apply then exit and reboot.
CasaOS #
Now the hard part is over, CasaOS has a very simple installation. Paste this command into your Pi and watch as CasaOS gets installed:
# CasaOS Automated Install
curl -fsSL https://get.icewhale.io/casaos.sh | bash
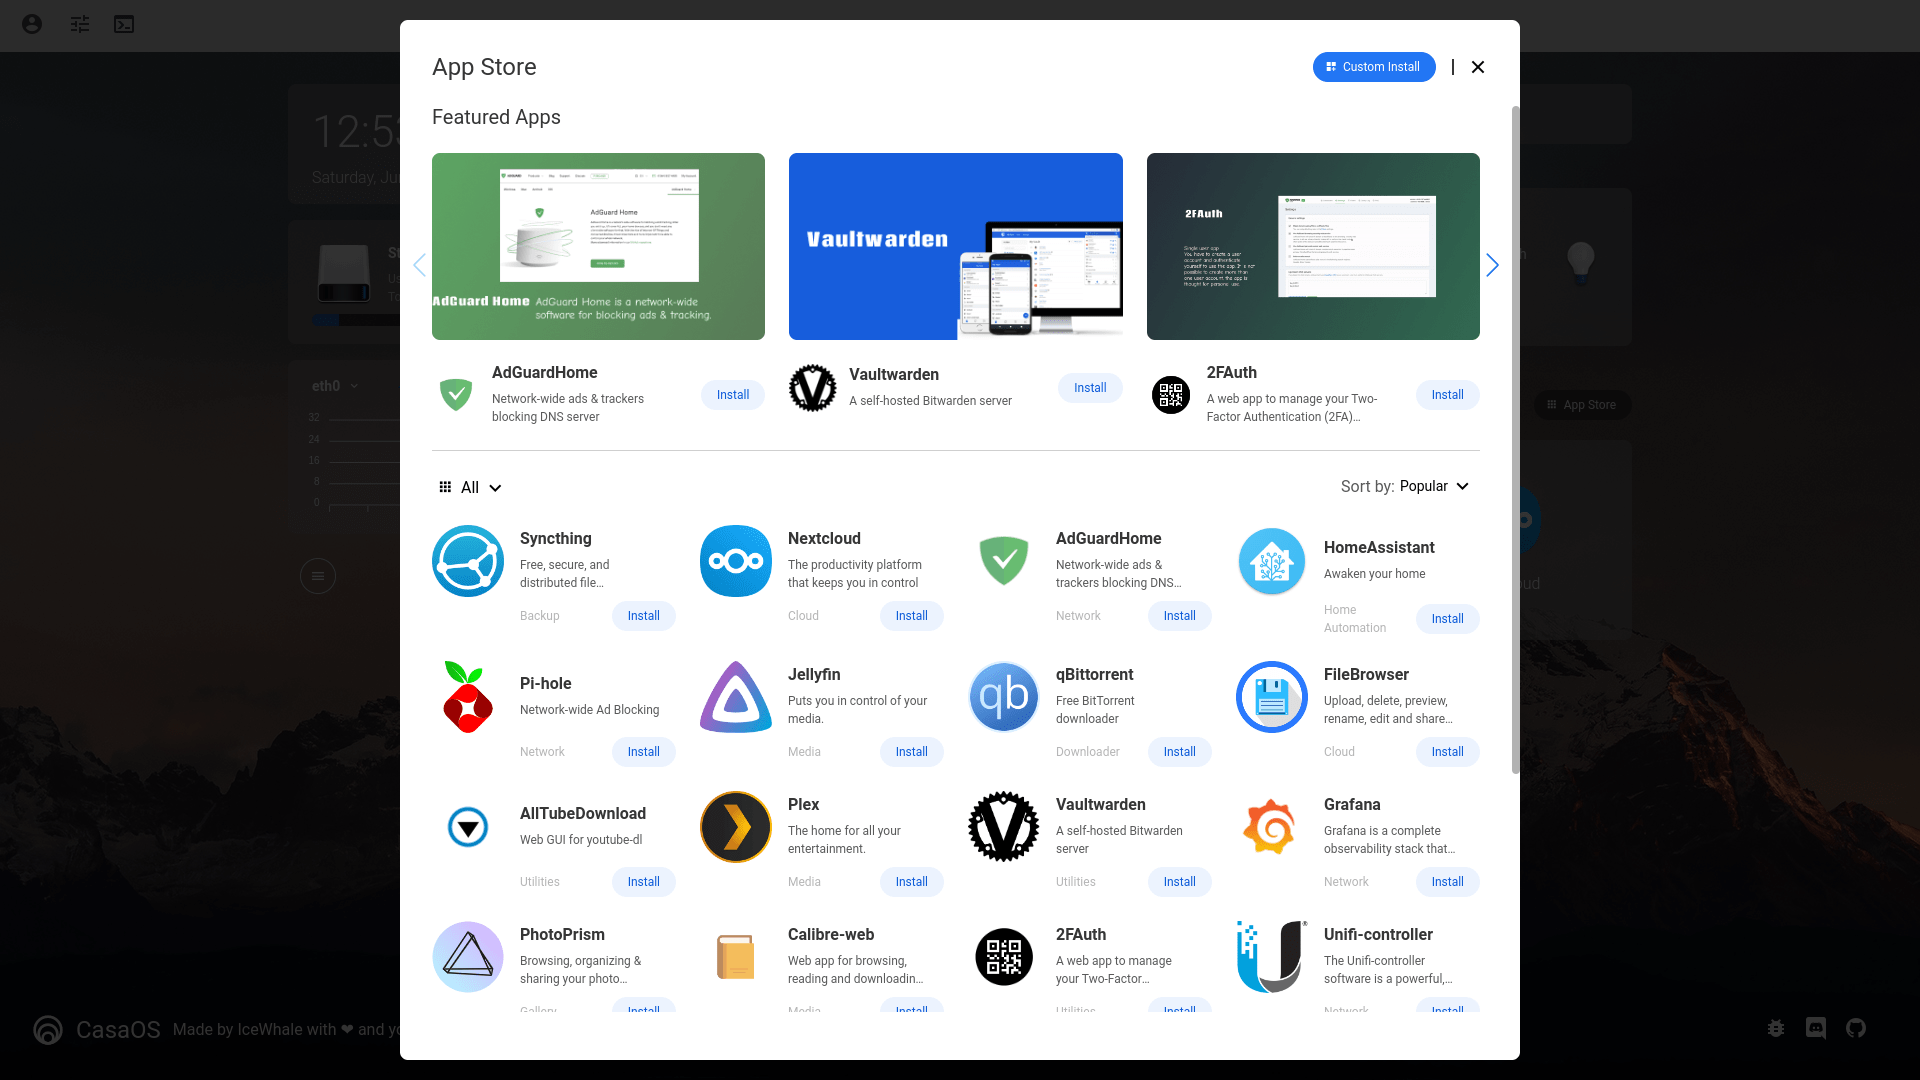
Once installed setup a user account and start installing your favorite services.
(Optional): Enable V4L2 #
If you would like to use a media server application such as Jellyfin, Emby, or Plex, you will need V4L2 (Video for Linux 2) for transcoding. To get V4L2 working, you’ll need to enable rpi-camera using this command, then reboot.
# Enable V4L2 Drivers
sudo /boot/dietpi/func/dietpi-set_hardware rpi-camera enable